
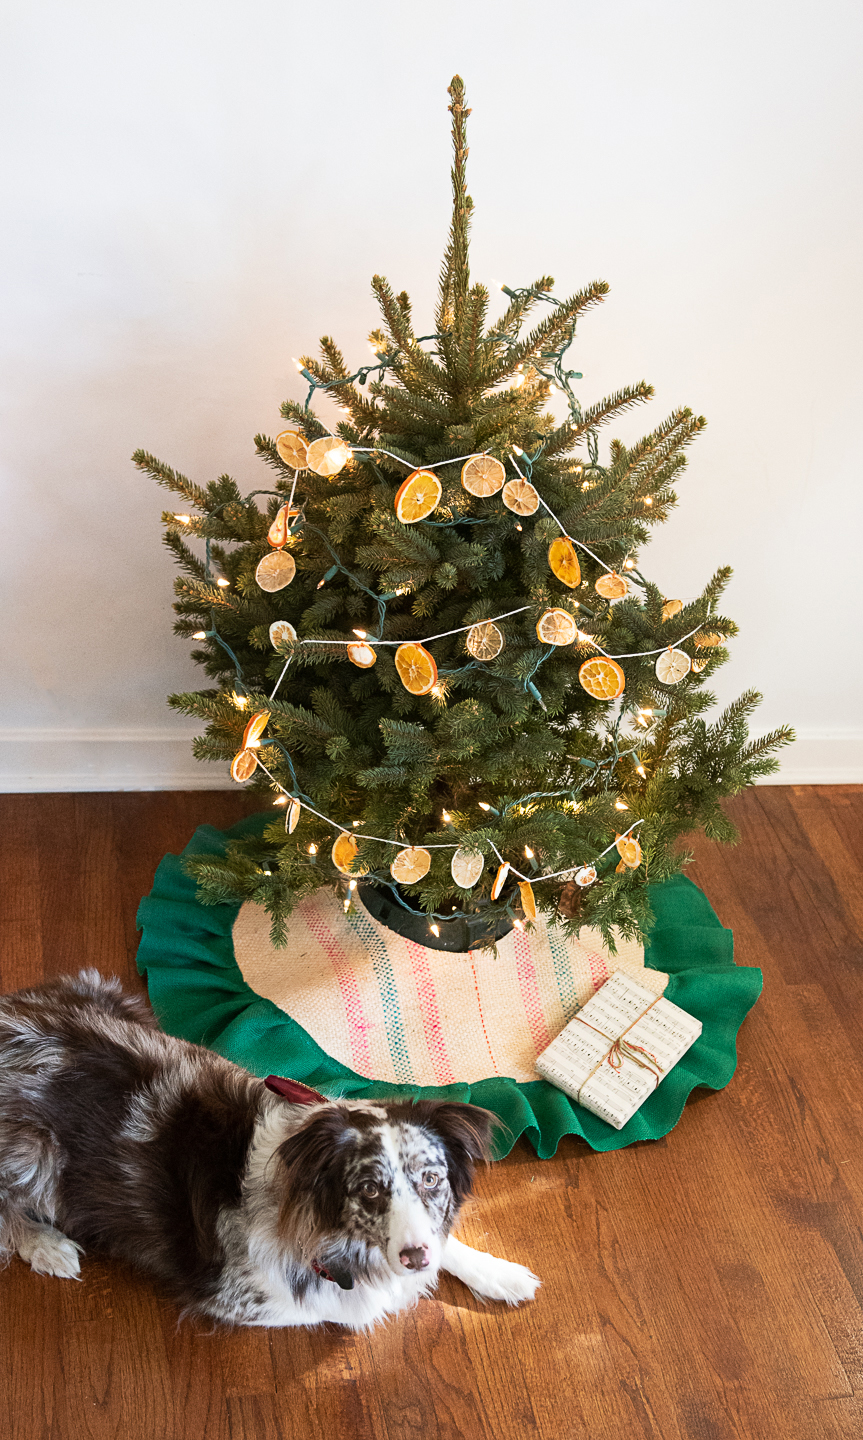
DIY Tabletop Christmas Tree Skirt from an Upcycled Burlap Coffee Sack
/*This post contains affiliate links. This means that if you click through and give the product a whirl, I get a tiny fee for spreading the news at no extra cost to you.
If you ever find yourself struggling to fall asleep at night wondering, “How do I upcycle this burlap coffee sack into a tabletop Christmas tree skirt?” you have found the right blog. Welcome. Let’s embrace insomnia and eco-friendly crafting together. I’ll open the wine.
You may recall that back when I did my DIY coffee-themed Thanksgiving tablescape, I promised to upcycle many of the components. First I made a fully compostable eucalyptus wreath and then DIY eucalyptus linen spray (it’s ahhhhmazing), but then I needed to tackle my burlap coffee sack.
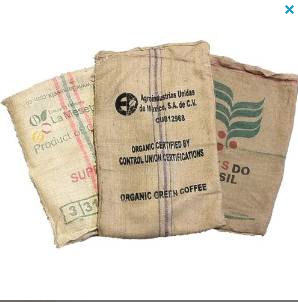
Coffee beans are frequently delivered unroasted in these super cool burlap sacks. They have their own particular aesthetic and I think it leaves so much room for creativity. These coffee sacks are also made of organic material, so they’re compostable, and you can often score them for free with a wink and a smile at your local coffee roaster or upscale niche coffee spot. If bougie coffee spots have yet to infiltrate your neighborhood, there are plenty of used coffee sacks on Etsy waiting for a good home!
I could go on but let’s get started on this eco-friendly DIY. I love a good upcycle craft and I think this one gets bonus points as this is now this coffee sack’s third useful life (first as a coffee bean bag, second as a table runner, third as a Christmas tree skirt).

Supplies for Upcycled Coffee Sack Christmas Tree Skirt

Iron and ironing board
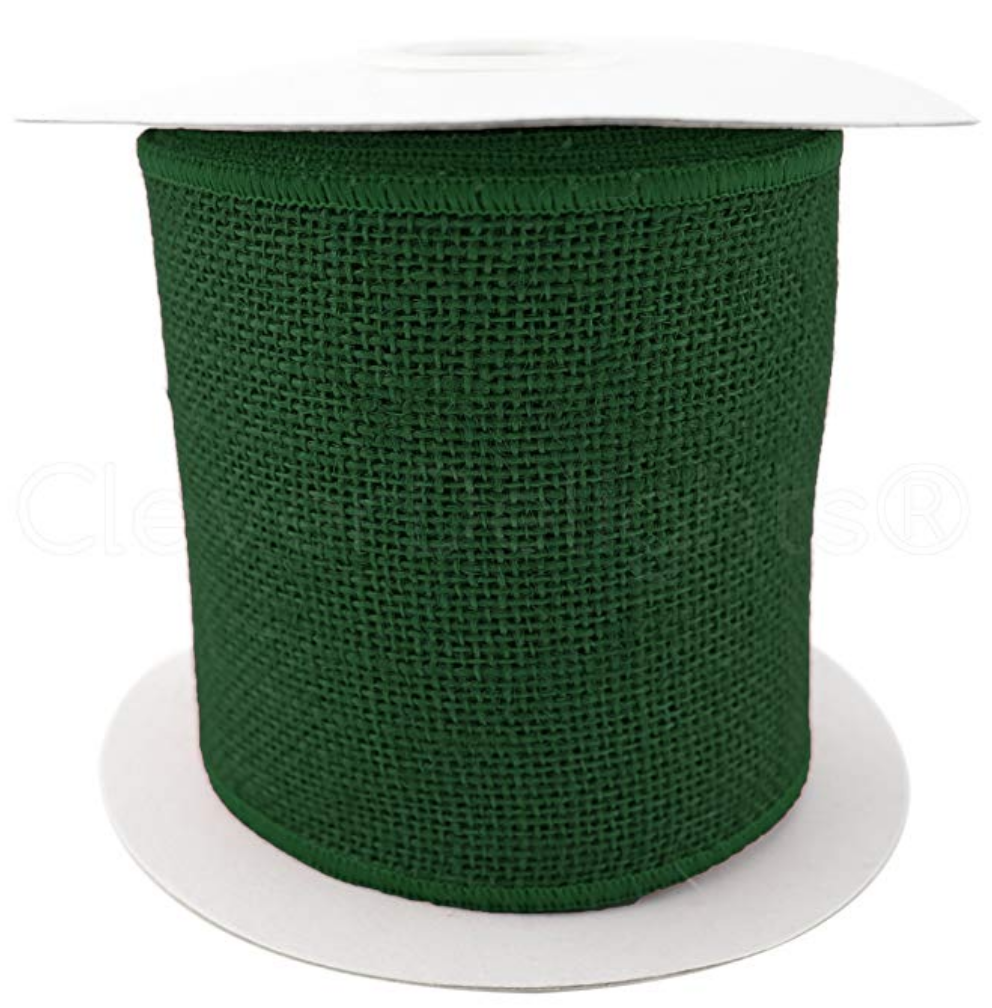
Embroidery thread
Embroidery needle
Super glue (liquid, not gel)
Two wooden buttons
Dressmaker pins
Two Sharpies
String
Salad plate (or bowl)
Ruler
How to Make a Tabletop Christmas Tree Skirt from a Burlap Coffee Sack
Using sharp scissors, snip along the side seams of your coffee bag. Lay the bag out flat and cut along bottom fold to form two separate rectangles of burlap. Set your iron to high or “linen” and then iron out any creases, using steam to smooth any stubborn irregularities.

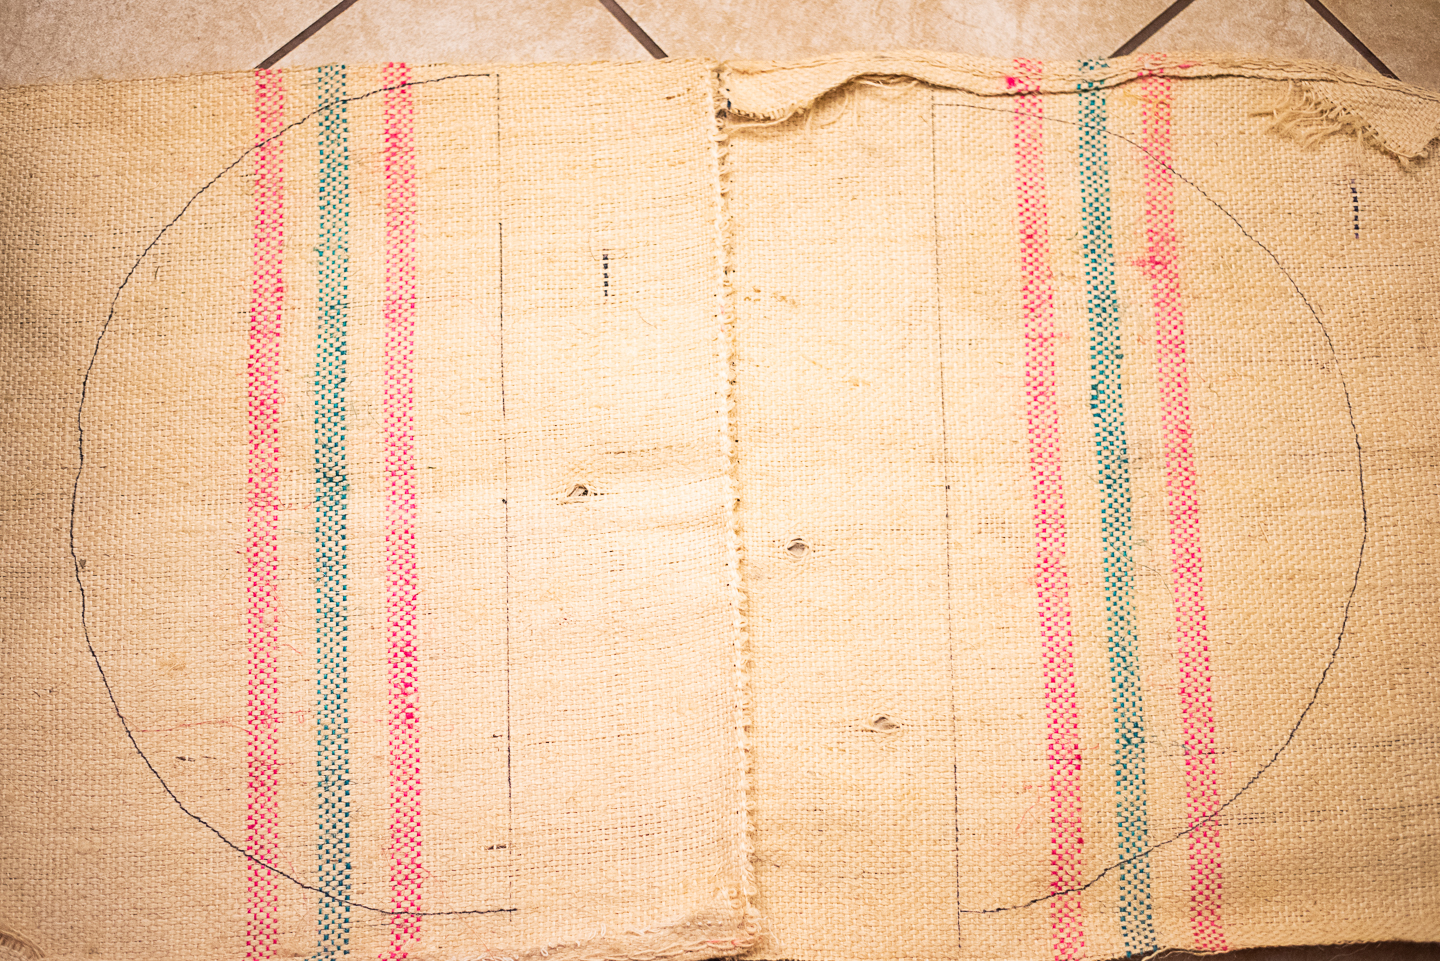
2. Plan out which portions of your coffee bag you’d like to use for your DIY tabletop tree skirt. Make sure to check out the pattern on the inside of the bag, I actually ended up liking that more than the outside! Measure the length of the bag with your ruler and make a tiny notch with your Sharpie. Then measure for the maximum radius for each separate half of your tree skirt. I had to work around a couple damaged spots in my fabric, which looked suspiciously like finger holes.
3. Once you’ve measured for the radius for your first half of your burlap tabletop Christmas tree skirt, tie the end of your string around the first Sharpie. Cut the other end of the string one or two inches longer than your radius and tie the other end of the strong around your other Sharpie. You’ll be using this like a protractor to form a perfect half circle. Uncap both Sharpies and firmly place the tip of your first Sharpie on the center notch. Stretch your string taunt and use the second Sharpie to draw your half circle, as pictured. Repeat with the other piece of burlap.
4. Using a sharp pair of scissors (emphasis on the word SHARP, this can get a little… chewy, y’all!), snip along your marker lines to cut your half circles. Try to handle the cut edges of your half circles as little as possible at this point to avoid fraying.
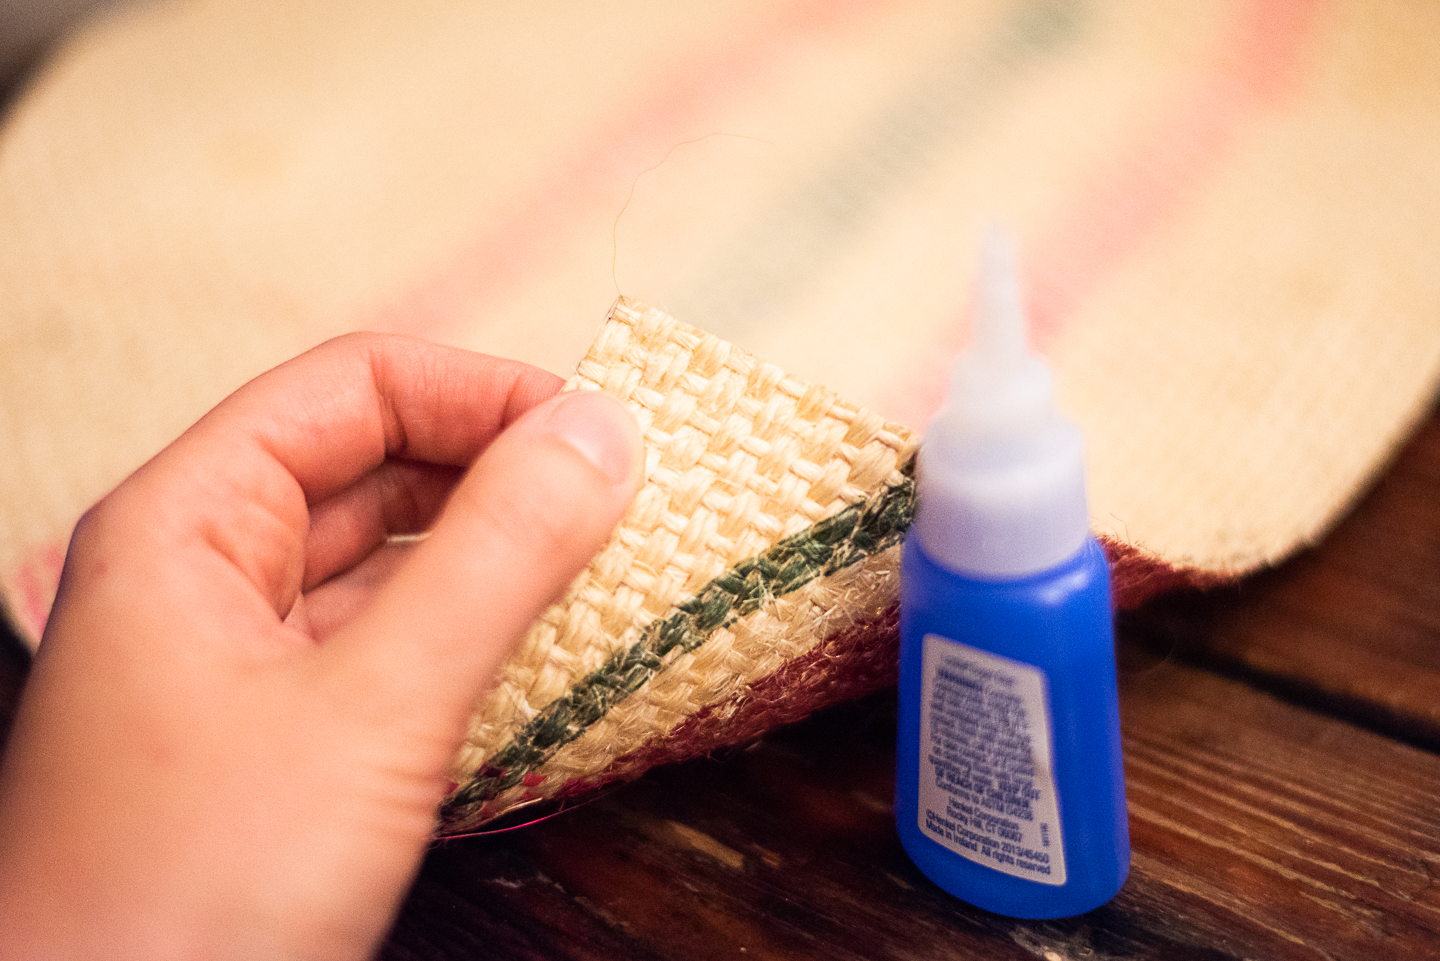
5. Seal off the edges of your burlap by lightly running your super glue along the ends. While super glue can be a challenging adhesive to work with, your burlap is a very “thirsty” material and it should dry almost instantly, preventing fraying while you work. DO NOT sit your burlap down until it has dried or it will stick to any and everything it touches. Your legs, your floor, your dog. Everything.


6. Once your edges have dried, piece together your circle and decide how wide of an inner circle you will need. If you have your tree stand, estimate how high up you’d like your tabletop tree skirt to sit. I decided to use a small dinner plate as I was working with a rather bushy little tree and less concerned about covering the whole base, but you’ll want to go smaller (think a mug) if you’d prefer your tree skirt to nestle at the top of your stand next to the trunk.
7. Using your ruler, center the plate and trace. Cut and discard your inner circle, seal the new cuts in your burlap with super glue.


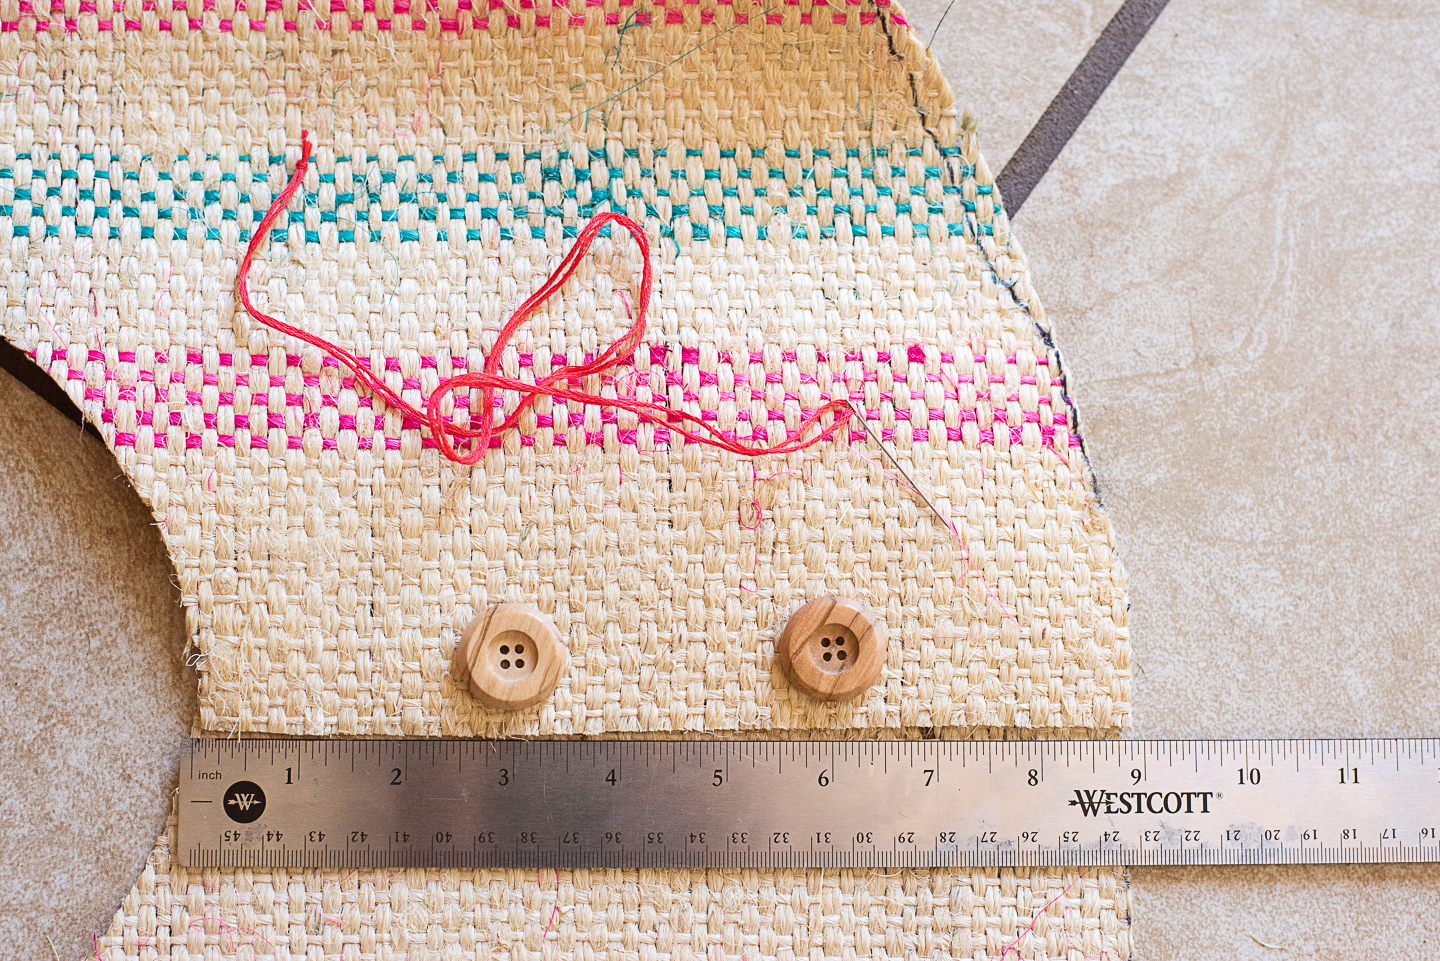
8. Place your tree skirt together and arrange your wooden buttons, leaving and extra half of an inch when you measure to allow for the placement of your ribbon ruffle.
9. Sting your needle with your embroidery thread and double knot. Sew your buttons firmly onto your tree skirt with an X pattern and tie off your thread. Then align your tree skirt halves and choose the spots for your button loops, keeping in mind that the loop side will overlap the button side when buttoned.
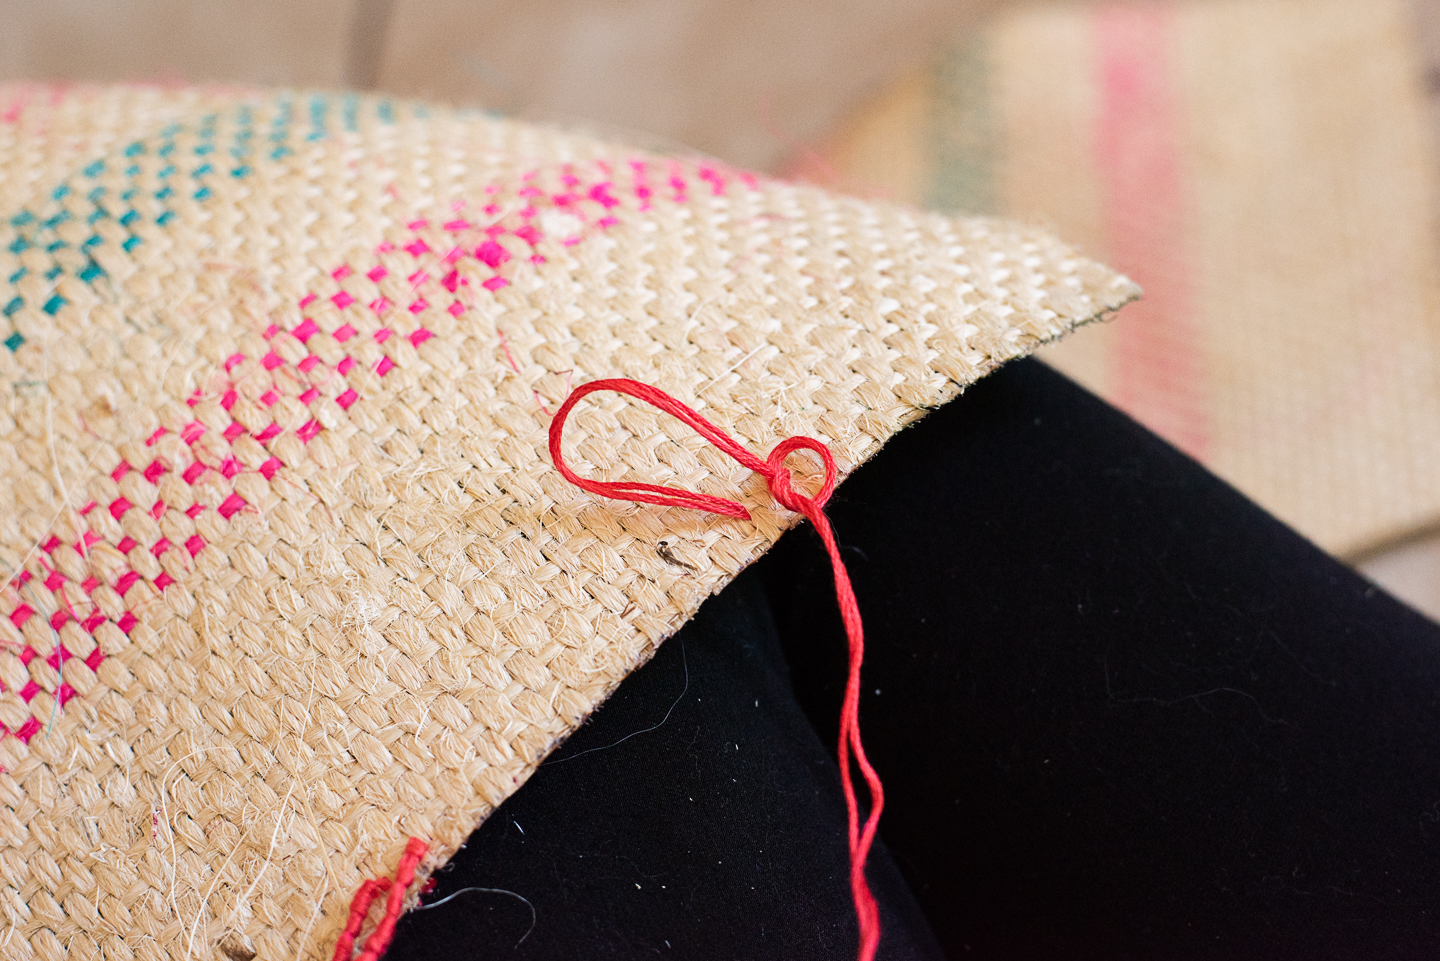
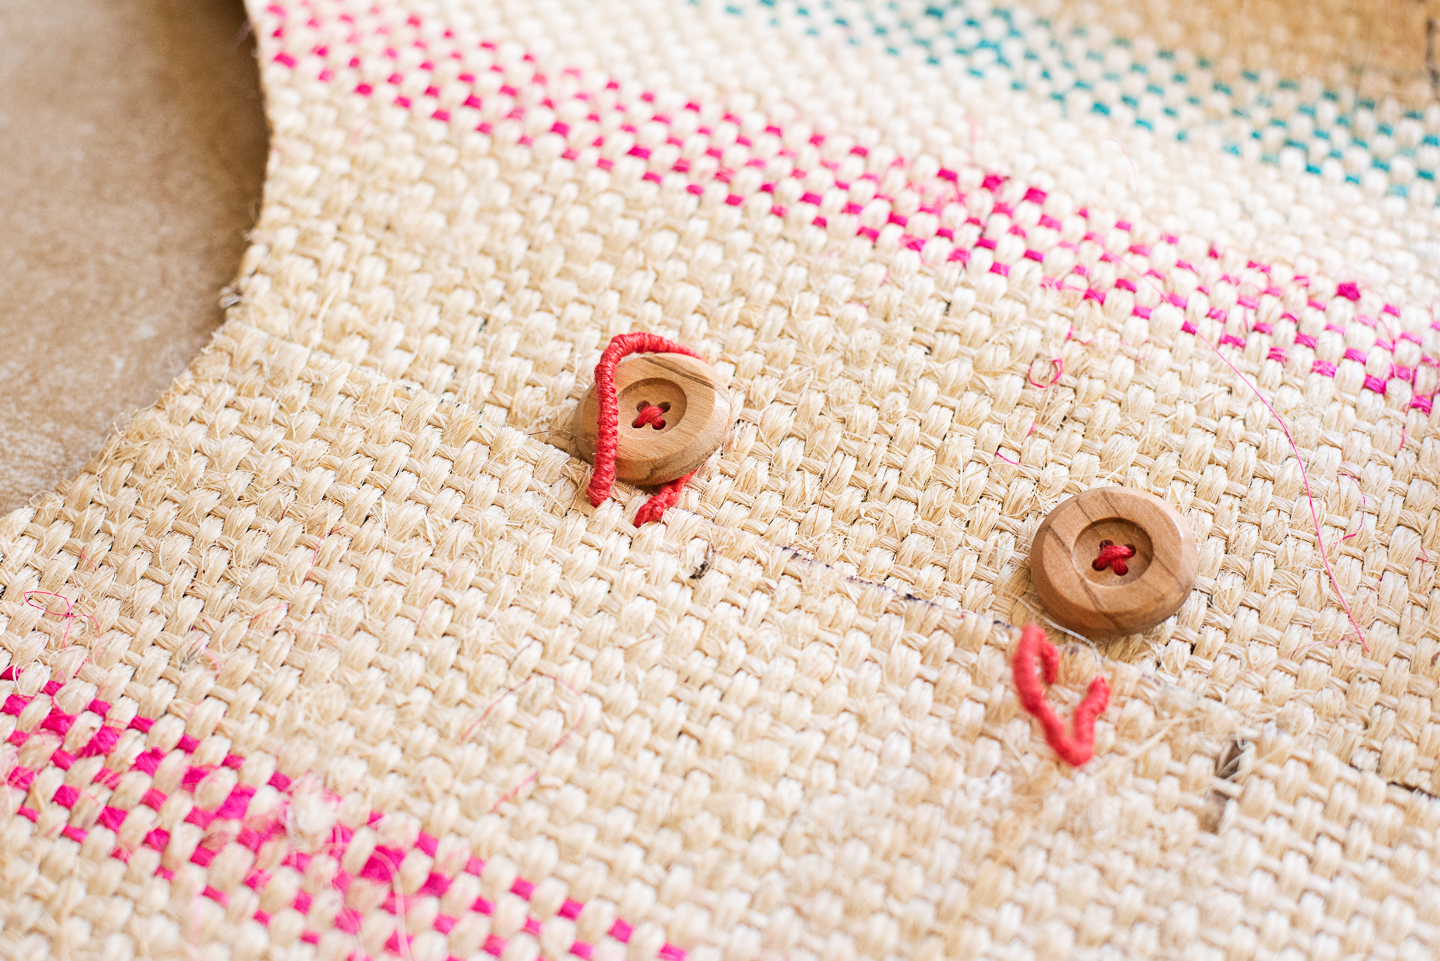
10. Knot your thread and push your need through from the bottom of your burlap to begin your loop. Measure out the length of your button loop by holding over the diameter of your button, keeping in mind that the loop will fall under the button and create more slack when in use. You want your loop to fit well but not be impossible to slide over your button. Finish your button loop, taking the time to create a knot finish for a more sophisticated look. You’ll find an excellent YouTube tutorial on button loops and knot finishes here. (Basically you tie a series of tiny knots along the loop all coming from the same direction to strengthen your button loop and hold the two strings together chicly.)
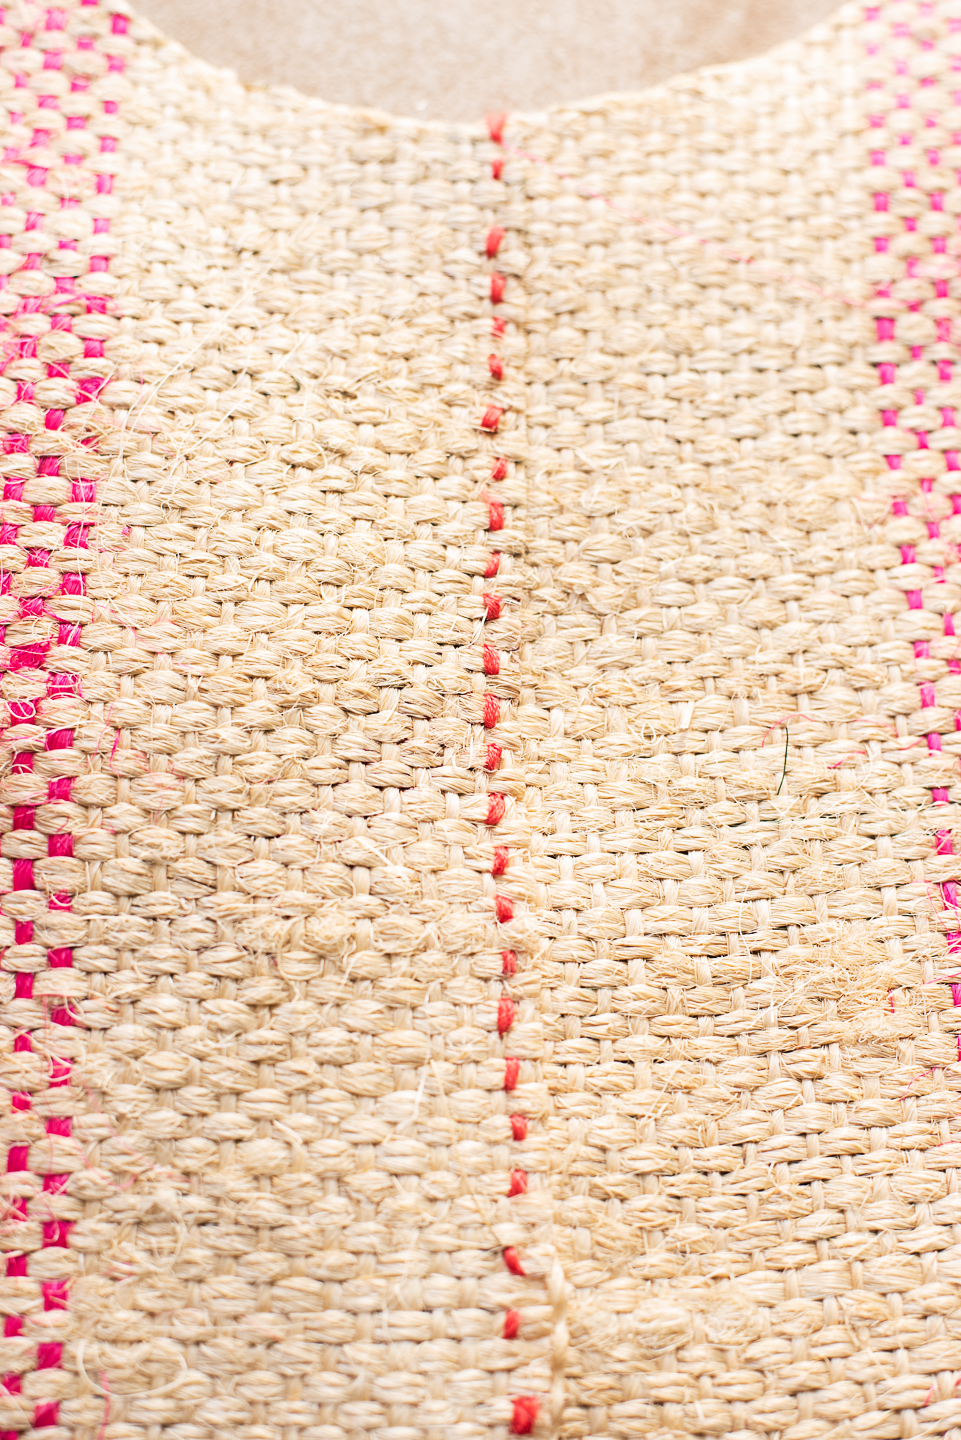
11. Lay the remaining two ends on top of each other and bind with a running stitch.

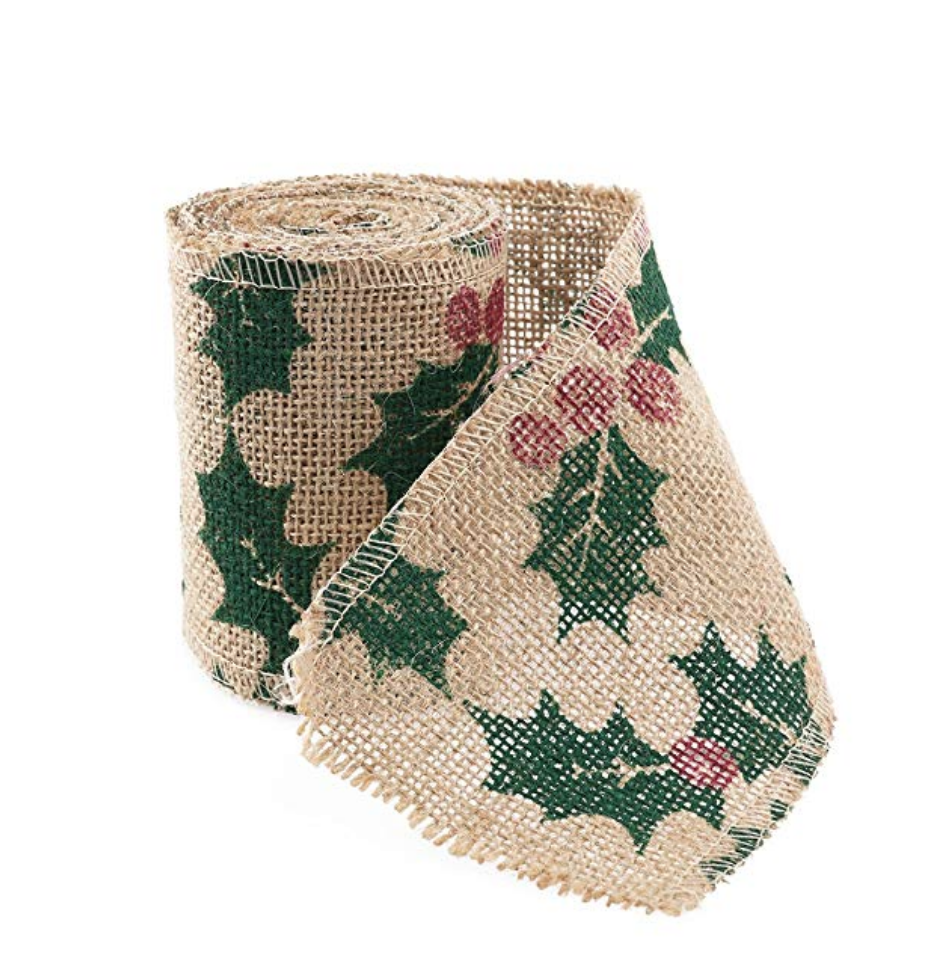
12. Lay your burlap ribbon over your tree skirt so that the trimmed end is aligned the end of your button loop side and the length-wise side of your ribbon overlaps your burlap by about a half inch. Working along the outer edge of your tree skirt, pleat and pin your burlap about every 2 or 3 inches. Carefully line the end of your burlap ribbon with your remaining straight edge on your tree skirt (button side). Trim your ribbon and seal with super glue.
13. Secure your ribbon to your tree skirt with a running embroidery stitch. You’re done! Put that bad boy under your tree, grab a gingerbread cookie and some cocoa, and enjoy.

You’ve not only upcycled a burlap sack into something new and beautiful, you’ve stylishly incorporated eco-conscious living into your holiday decor!

