
DIY Christmas Block Puzzle Made From Upcycled Vintage Postcards
/*This post contains affiliate links. This means that if you click through and give the product a whirl, I get a tiny fee for spreading the news at no extra cost to you.
The first time I fell in love with vintage postcards, I was in elementary school. I’d never seen one before and I stumbled across some gorgeous Valentine’s Day postcards with little handwritten love notes on the backside. My mom, who also loves vintage and finely crafted things, immediately bought them for me, thus spawning what has turned into a lifelong tendency to hoard vintage postcards.

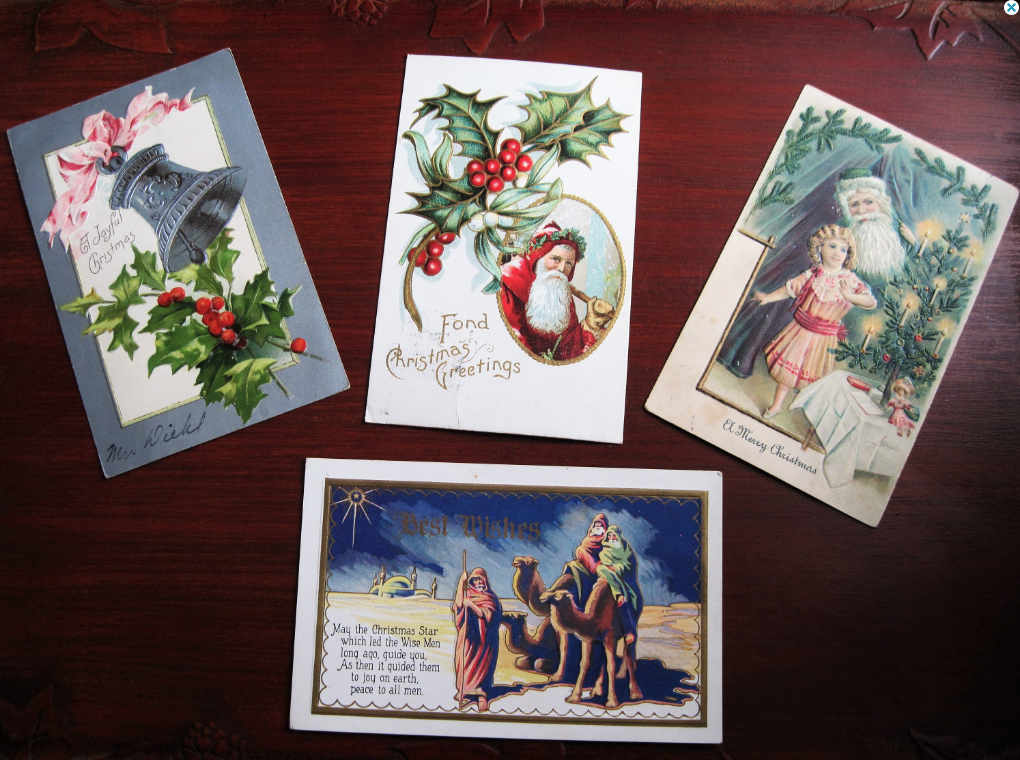
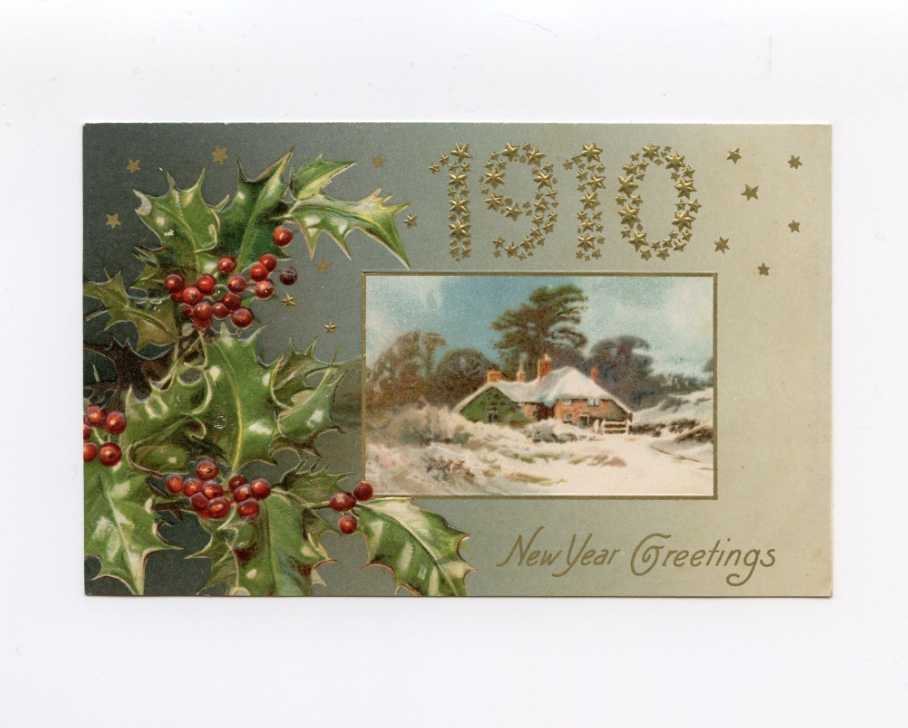
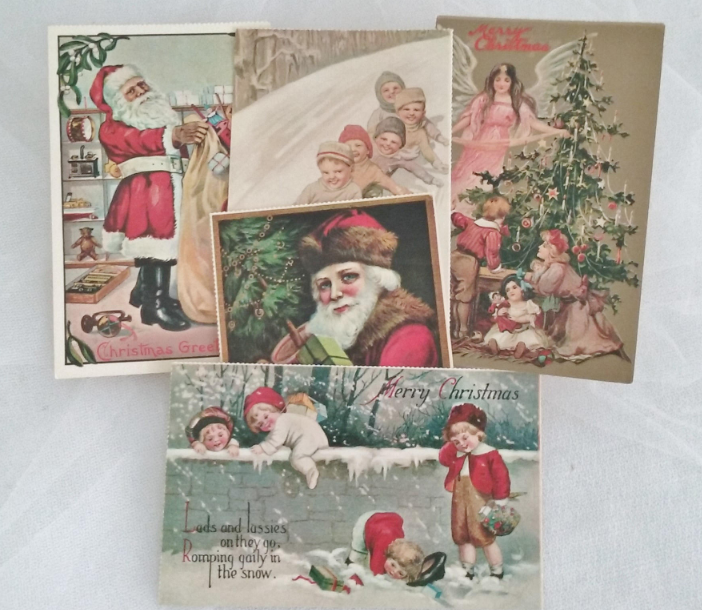
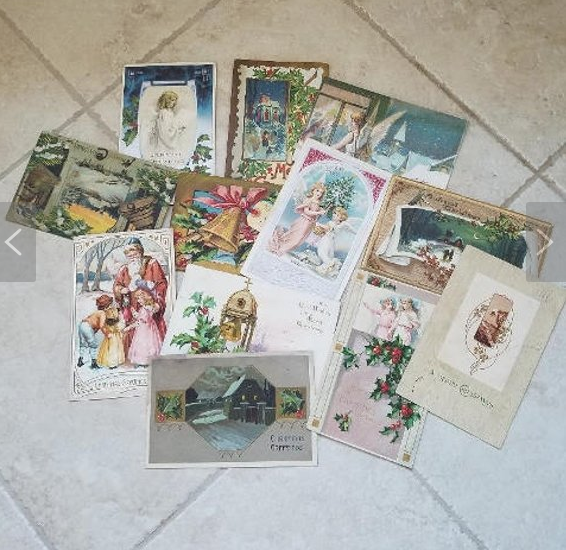
While making some Christmas presents for family members (it’s a tradition of mine I’ll expound on eventually), I stumbled across a cache of antique postcards in the bottom drawer of my craft room. They were gorgeous, covered in beautiful illustrations, gold embossing, and old fashioned imagery. Naturally, I wanted to upcycle them immediately… but I just couldn’t bring myself to damage them in a way that rendered them disposable (think gift tags, garland, etc).
What could I do with vintage postcards that would allow them to live on well into the future, other than framing them?
My mind flew back to that memory with my mom I mentioned earlier, my brain rolling around various thoughts. My mom loves vintage things, wandering antique stores is currently our favorite pastime. When I was a kid, it used to be puzzles. We’d sit there for hours putting pieces together, arguing over who got to put the final piece in. Spoiler alert: it was always me.
Then it hit me: WHY NOT UPCYCLE THESE VINTAGE POSTCARDS INTO A BLOCK PUZZLE?!

Being an aggressive environmentalist (I say this with great pride), I wanted to use as many vintage items as possible to eliminate contributing to the supply and demand chain and all the environmental impacts that come from constantly generating new “stuff” when we’re already drowning in the unwanted “stuff” of previous generations.
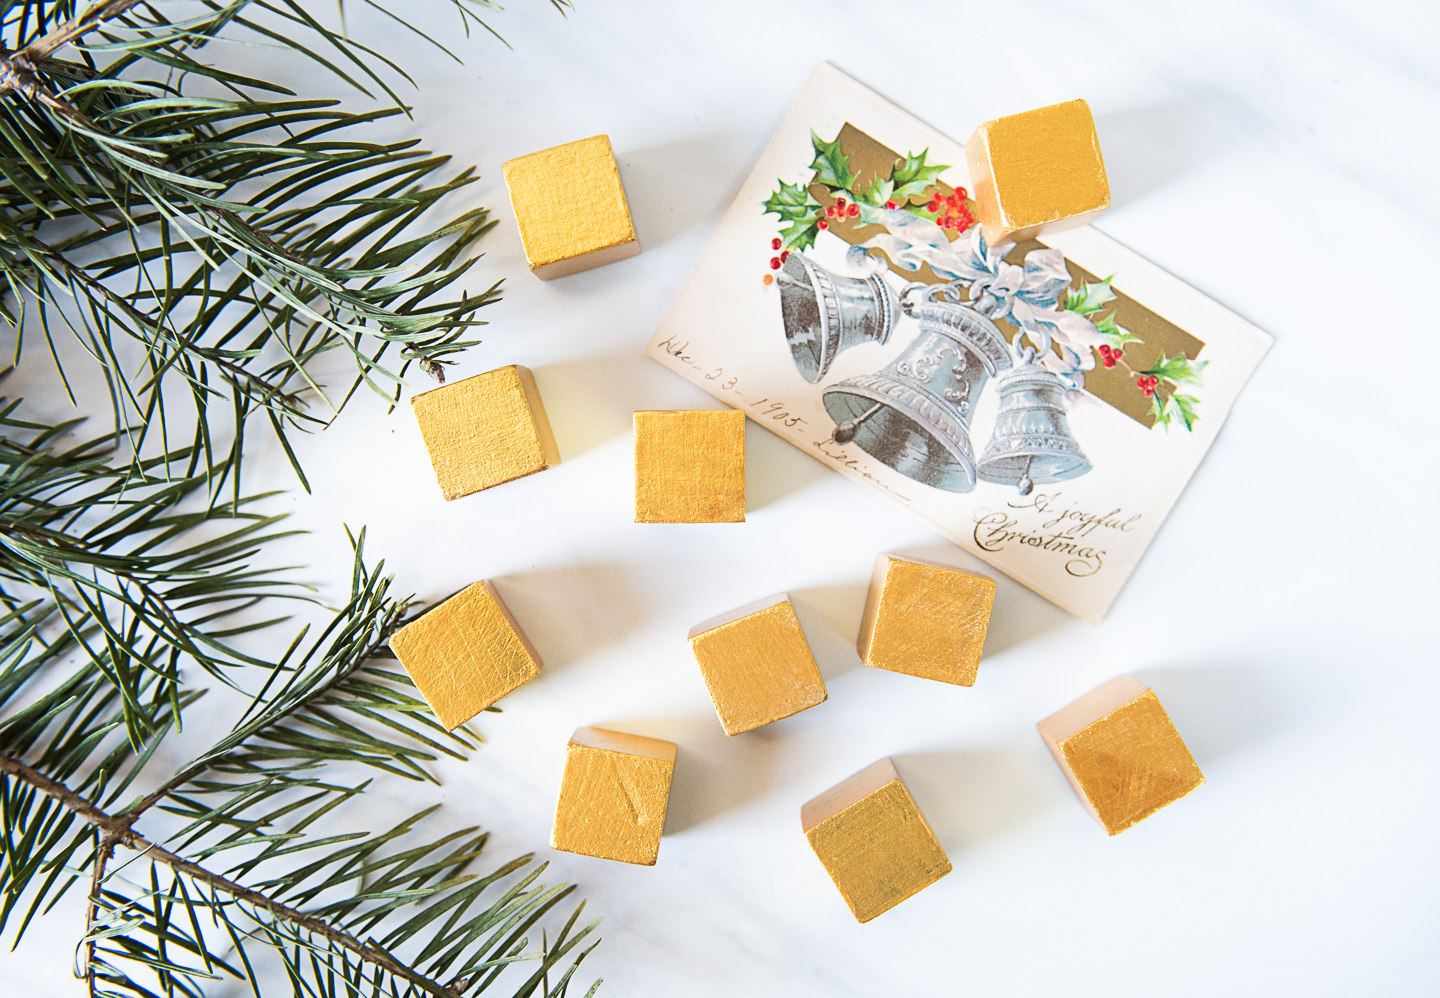
I lucked out and stumbled on vintage wood blocks on my first trip to an antique store, they were multicolored and smooth on all sides, likely from some sort of game. I did trip over vintage blocks at every other antique store I’ve visited this month, but they were the type with woodcuts and letters carved into the surface, which would be both much harder to work with but possibly very cool.
You can purchase vintage wood blocks here BUT you can find new wood blocks here. New blocks will be significantly easier to work with, for those short on patiences.
Reese’s Note: My blocks were 1 inch squares, which was a great fit given the width of vintage postcards. If you use larger blocks, you’ll need to pay more attention to centering and more of your blocks will show, which is neither good nor bad, just personal preference.

DIY Christmas Block Puzzle Made From Upcycled Vintage Postcards
Supplies:
9 wood 1 inch square blocks, vintage or unfinished crafting blocks
Medium grade sandpaper (if you’re using vintage painted blocks)
Ruler and pencil
Scissors
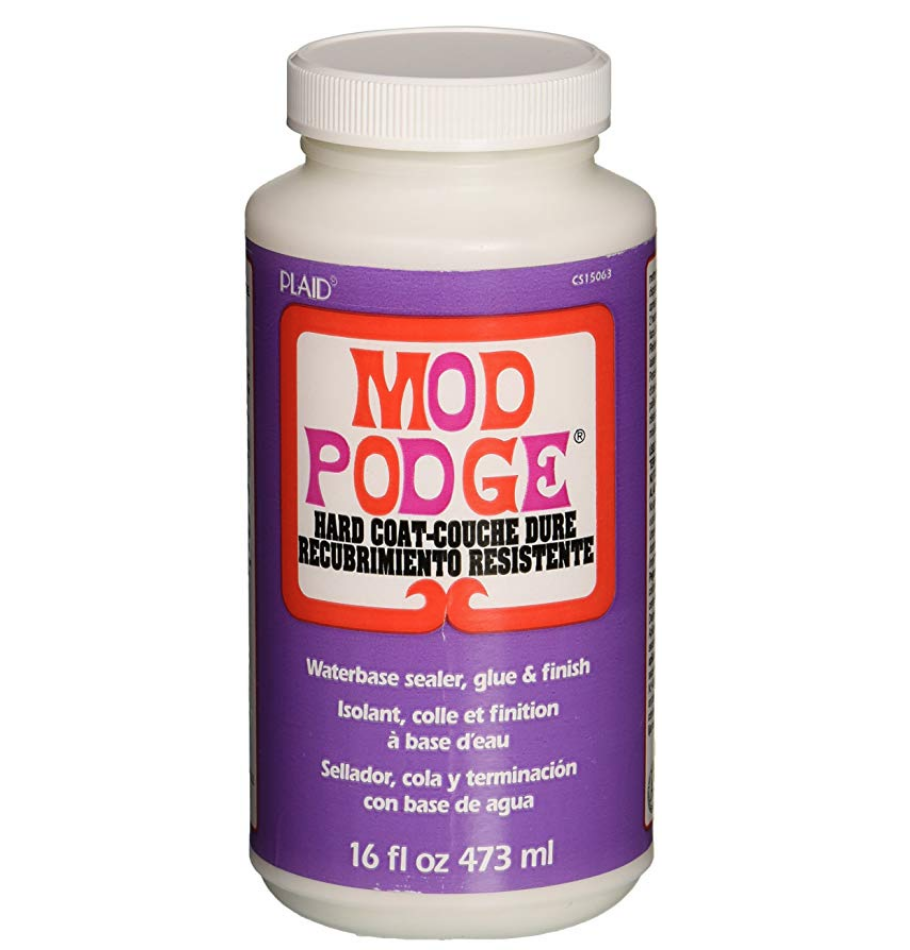
Mod Podge Hard Coat
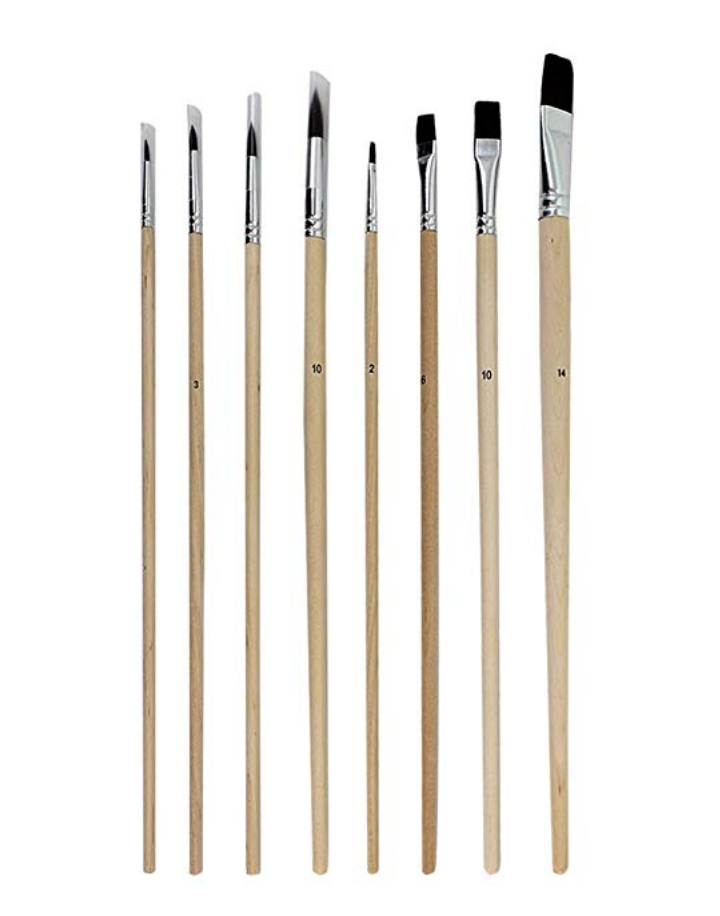
Soft bristle medium-sized paintbrush
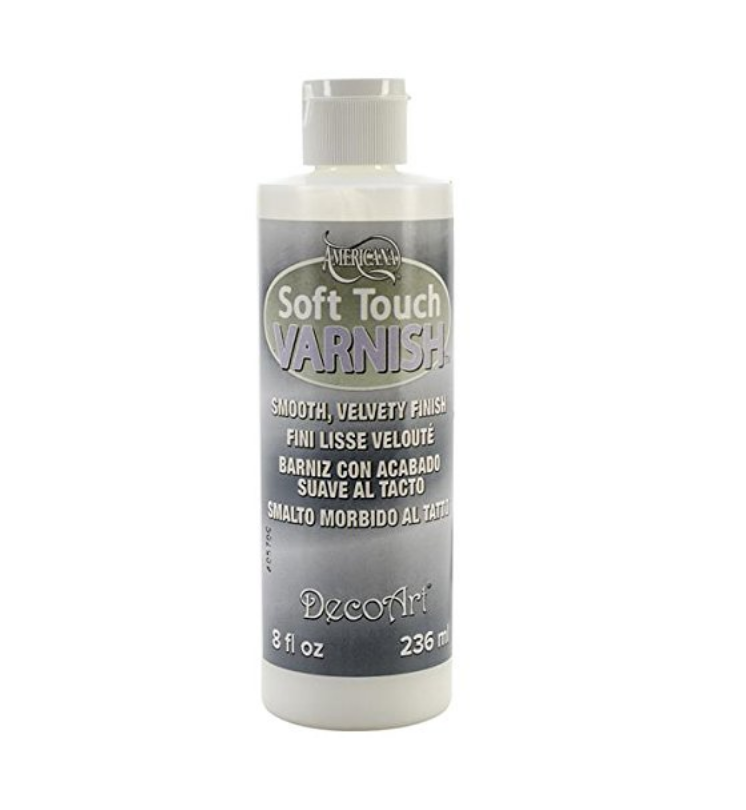
Acrylic satin finish (I find glossy more likely to become “tacky”)
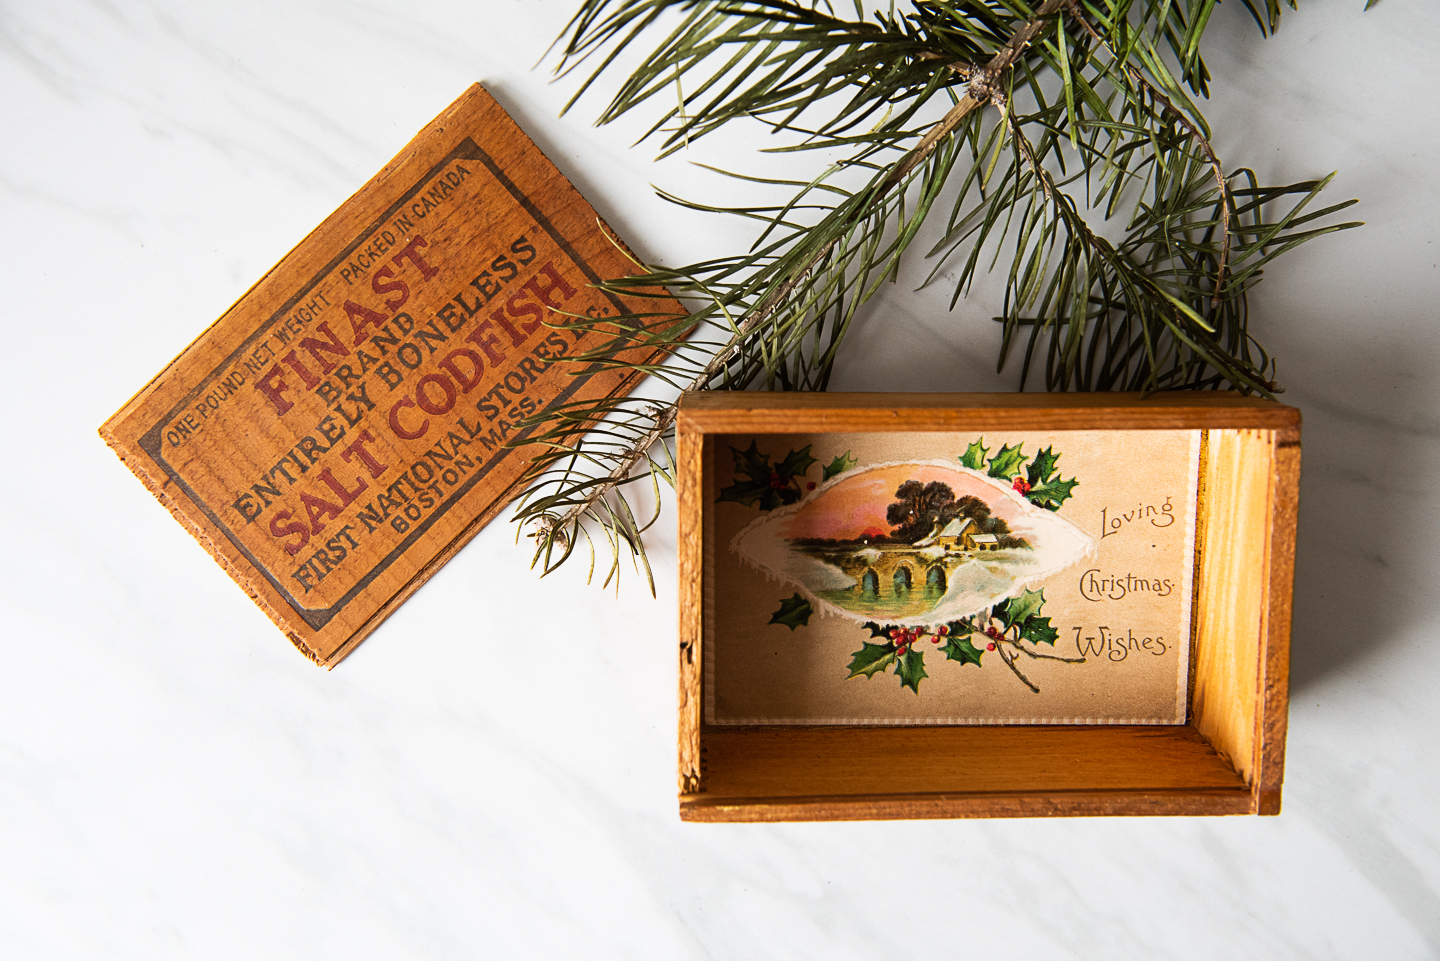
Vintage or new wood box to house your final product
9 glass jars or mason jars


How to Make Christmas Block Puzzles From Vintage Postcards:
If you’re using vintage blocks, lightly scuff all surfaces of your blocks with the sandpaper to remove any existing varnish that would keep your paint from adhering. Don’t spend too much time on this step.
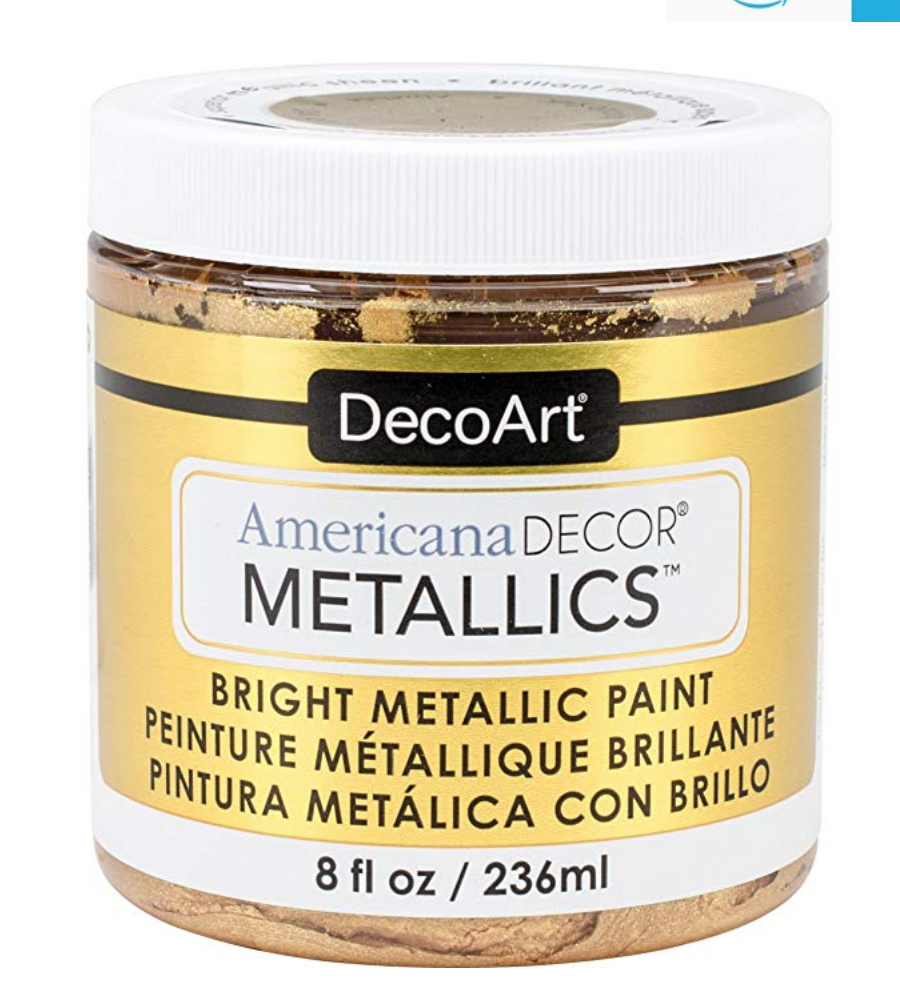
Using your gold metallic paint, paint your blocks. You’ll obviously need to leave one side unpainted while the others dry and double back once those are thoroughly dried to paint the final side. Use multiple coats to create desired hue, if necessary.
Using your ruler and pencil, carefully map out a 3 inch by 3 inch grid on the backside of SIX of your SEVEN postcards and cut your square pieces. Be sure to keep your pieces from each postcard separate from the others.
Once your gold paint is thoroughly dried (I let mine dry over lunch), line up your wood blocks in a perfect square and arrange the first postcard pieces on the top surface of your blocks. Glue them in place using your Mod Podge. Place a mason jar over each separate block as shown to assure the adhesion of your postcard corners to your blocks. The concave surface of the bottom of your jars will focus the pressure on your edges. Look straight down through the top of your jars to make sure no Mod Podge is leaking from the sides of your paper. Remove your glass jar, wipe away access glue, and replace your jar if needed.
Allow to dry thoroughly, repeat on all sides of your blocks with your postcards, making sure each block only has ONE square from each postcard. This should be obvious but Lord knows I’ve made plenty of mistakes in the moment.
Once your paper is very dry, varnish your blocks with the clear acrylic finish, taking care never to let them rest on a surface with wet varnish. I did about 4 coats, and they dried relatively quickly. This step serves multiple purposes: it will protect the surface of your postcards, rendering them water resistant, it will add extra adhesion between your block and your paper, and it will create a beautiful “finished” look. As you apply each coat, brush excess varnish into any cracks between the edges of your paper and your block to create smoother edges that will be less resistant to catching on things or separating.

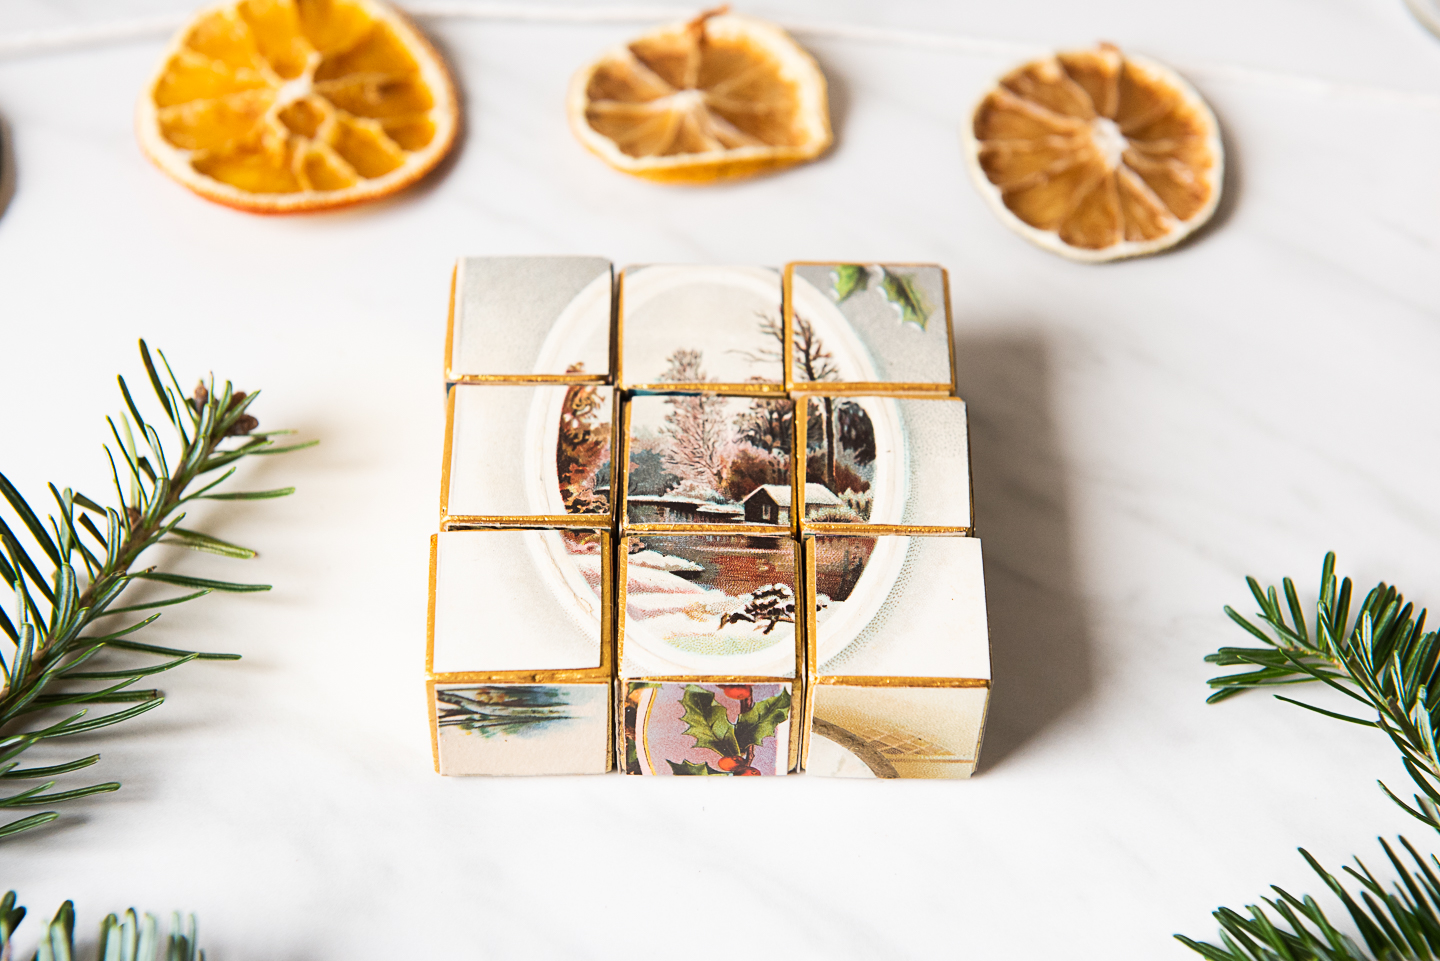
And there you have a beautiful finished puzzle! Not only have you extended the life of some pretty vintage postcards, you’ve now turned them into an interactive art experience that will be a fun experience and conversation piece for all ages! Way better than keeping your vintage postcards in some dusty drawer or simply framed on a wall until you get tired of them, right?
And finally…
How to Make a Box for your Christmas Block Puzzles From Vintage Postcards:
If you’re using a vintage wood box, map out where you’d like to use your final postcard. I went back and forth on this one, but in the end I really loved the look and feel of my original lid, so I went with inside. I love that what seems like an ordinary salt cod box has such a gorgeous festive surprise inside.
Paint any desired surfaces of your box with your gold paint. Let dry.
Mod Podge your postcard in place. Let dry, coat with one or two coats of varnish.
Once everything is THOROUGHLY DRY (about half a day, for me), store your puzzle pieces.


